Recovering deleted files can be costly, but restoring data for free is possible on Windows. However, you need to act quickly for the best results.
Users have several free options to recover deleted files on Windows 11 and 10. Microsoft includes a few of these tools within Windows. Some third parties offer free data recovery software that can resolve scenarios involving permanently deleted files.
Our experts offer free methods to recover deleted data on Windows and share tips to maximize your odds of success.
Quick Facts
- Hard disk drives (HDDs) and USB flash drives do not instantly erase data from their magnetic platters or memory cells. That means flash drive and hard drive recovery software can often locate and salvage deleted files on the device.
- Recycle Bin is a system folder in Windows that serves as temporary storage in case of accidental deletion.
- SecureRecovery® Undelete is an easy-to-use program that can recognize and restore deleted data for NTFS and FAT file systems.
- Windows File Recovery is an app in the Microsoft Store that retrieves deleted data on a PC running Windows 10 or later.
- Stop saving new data to the affected drive to minimize the likelihood of overwriting files.
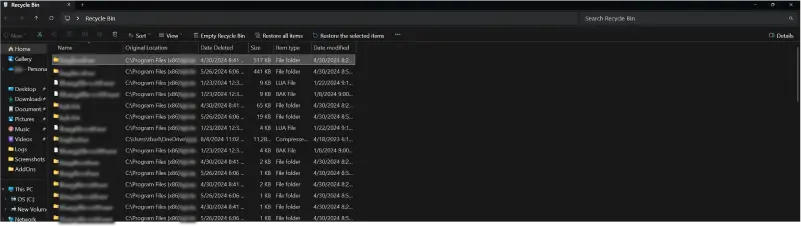
How To Restore Deleted Files From Recycle Bin
First, check your Recycle Bin if you want to recover recently deleted data. Recycle Bin functions as temporary storage for recently deleted files on Windows. The built-in feature also allows users to restore data if they accidentally delete a critical file. Overall, it is the simplest, surest method of reversing data loss on Windows for free.
To restore lost files with Recycle Bin on Windows 11 and 10:
- Find the waste bin on your desktop or type Recycle Bin in the Windows search box.
- Double-click the icon or option to open the system folder.
- Click the Restore all items or Restore the selected items button in the menu at the top of the screen.
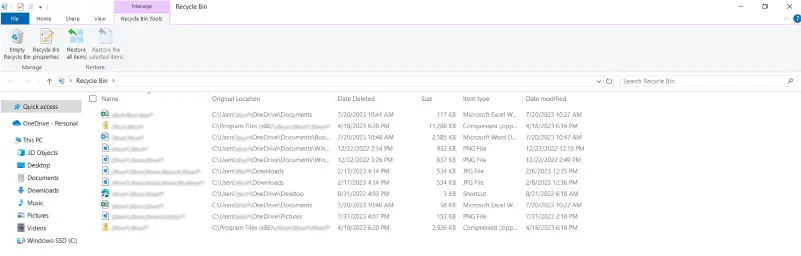
- The feature will restore the data and return files to their original location.
Note: Since Windows 10, the Recycle Bin retains deleted files until they occupy a certain percentage of the partition. By default, the number is between 5% and 10% of total space, but you can change it in your settings. Users can also enable Storage Sense within Windows’ Settings to empty the Recycle Bin after a given period.
Free Download of SecureRecovery® Undelete Can Reclaim Data
Emptying the Recycle Bin causes Windows to treat the removed data as permanently deleted files. You can no longer access that deleted data through one of Windows’ file management tools.
However, permanently deleted files are not lost forever. That is because hard drives and flash drives do not instantly erase data. Instead, the drives list the space the files once occupied as free, though they remain on the storage medium. As a result, data recovery software can scan the magnetic platters or memory cells for deleted files.
SecureRecovery® Undelete detects these files and saves them to a new location. You can often retrieve deleted data in a matter of minutes. And the user-friendly tool requires no special skills.
Do not install the free software to the device containing deleted data. Saving the program to the same drive could overwrite missing files, leading to permanent data loss. Download the software to a separate device to preserve important data.
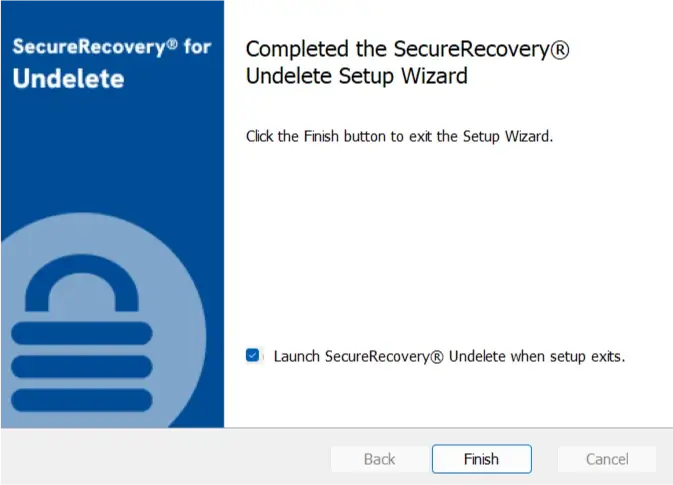
Here’s how SecureRecovery® Undelete works:
- Install the software and click Finish when the setup is complete.
- Select the drive with deleted files from the left sidebar.
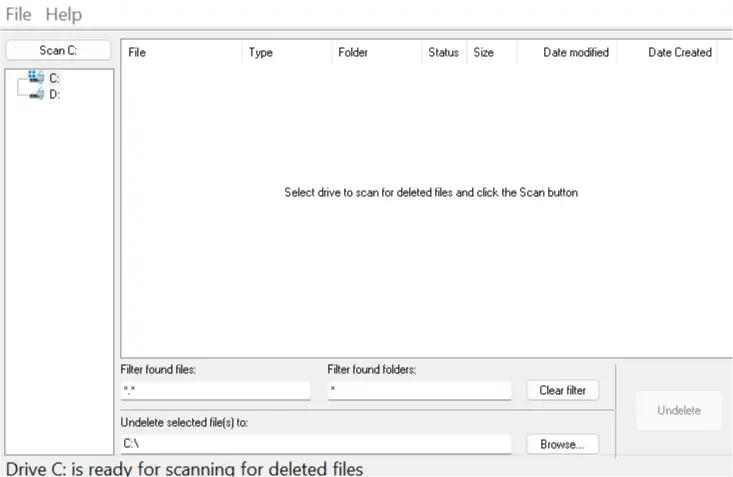
- Click Browse to choose the desired output folder
- Click Scan in the top-left corner of the tool.
- Click Undelete to recover the files.
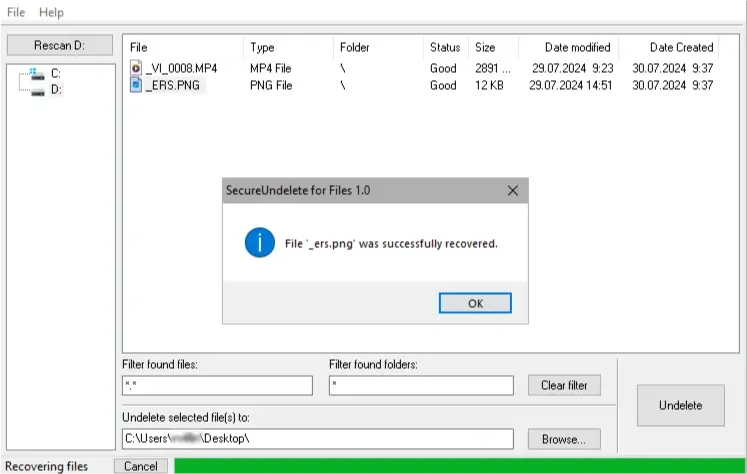
The outcome will depend on the extent of damage within the deleted files. You may need to rename or repair files and return them to the right folder.
Note: Restoring deleted data is difficult on SSDs due to the TRIM command. Windows issues TRIM commands to mark blocks as available and optimize the drive’s long-term performance. In the process, the SSD promptly erases data from the NAND flash chips at the hardware level. As a result, recovering deleted files from an SSD once TRIM fires is not possible with free software.
How To Use Windows File Recovery
Windows File Recovery is a free app on the Microsoft Store. The utility, which is available on Windows 10 and 11, restores files using a command-line interface. It is designed for NTFS, Windows’ default file system, but also includes modes for exFAT and FAT.
To use Windows File Recovery:
- Download Windows File Recovery from the Microsoft Store.
- Open the app once it finishes installing.
- Select Yes when Windows File Recovery requests permission to make changes to the device.
Users must input commands in the following format:
winfr source: destination: /mode /switch
Source corresponds to the drive letter of the device with the deleted files. Destination corresponds to the drive letter of the device where recovered files are saved. Mode refers to the scan’s parameters. For example, /regular mode looks for recently deleted files that fit the NTFS format. On the other hand, /extensive mode searches for permanently deleted files through the NTFS, exFAT, or FAT file systems. Switch refers to narrower parameters, such as specific file types like .docx, .xlsx, .pdf, .png, .mp3, or .mp4.
Here are some examples of Windows File Recovery in action:
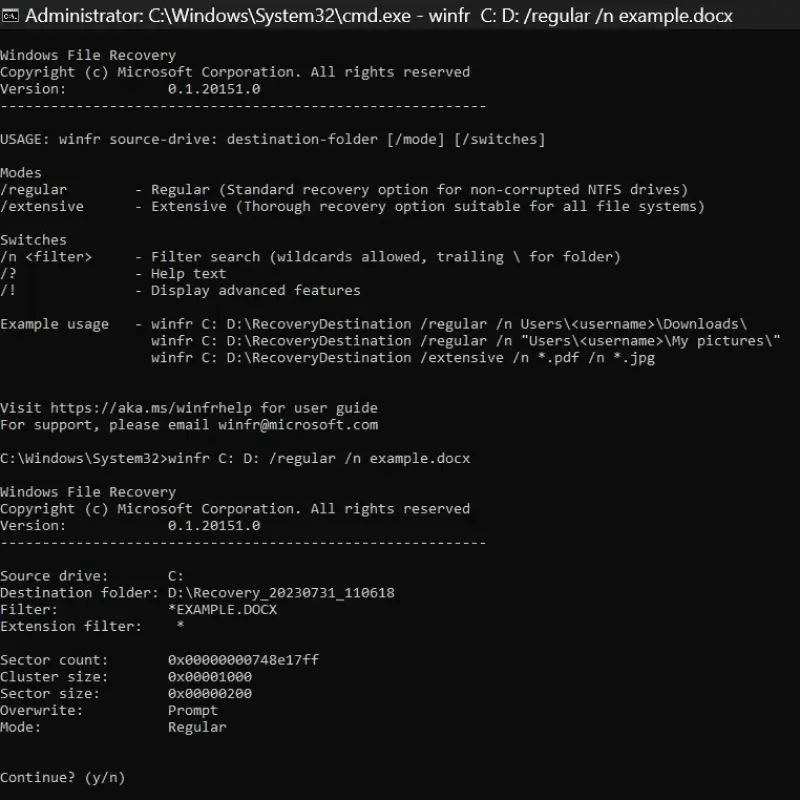
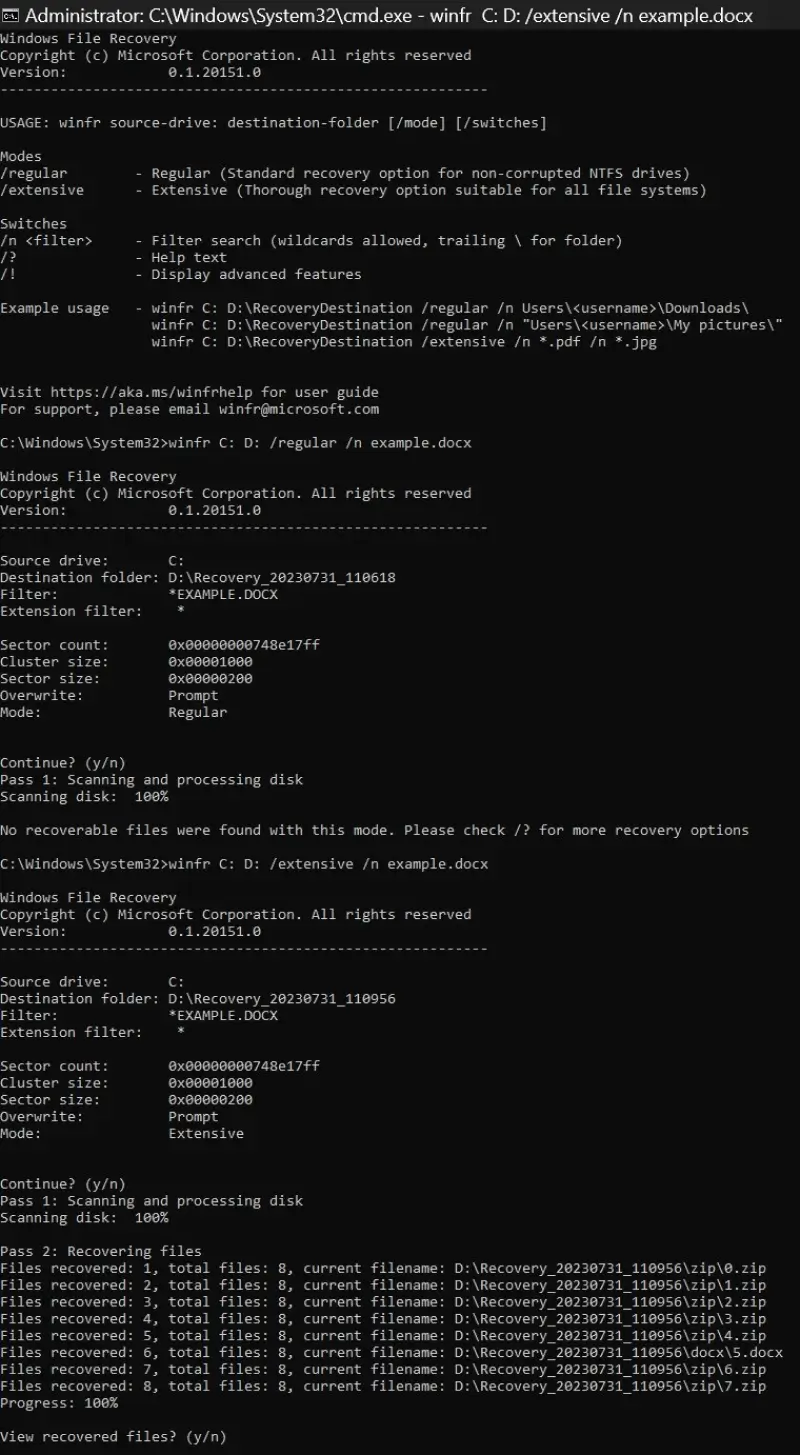
Text-based commands are often confusing to those unfamiliar with them. Visit our guide on how to recover data from a hard drive for free for more details on Windows File Recovery.
4 Simple Tips To Maximize Success
You can take a few steps to increase the odds of a successful recovery.
Tip 1: Stop Using the Drive
Do not write new data to the affected device. Save the software and recovered files to a different drive to reduce the risk of overwriting deleted data.
Tip 2: Adjust the Scan
Many programs allow users to run a custom search for certain file types. Changing the scan’s setting could improve results.
Tip 3: Try Different Tools
Do not lose hope if the first or second method does not work. Some tools are tailored for a specific situation. One might get all your data back while others struggle to restore files.
Tip 4: Realize Its Limits
Free data recovery software is not perfect. It cannot address physical damage or recover deleted files with significant issues. You may need to consult an expert in these cases.
Proven Data Loss Solutions
Secure Data Recovery has the experience to resolve digital disasters through data recovery software or professional service.
Our engineers have recovered billions of files in more than 100,000 cases since 2007. And we have maintained a 96% success rate across all devices, failures, and file types in that time. Our sustained success is a testament to our tools and techniques. We have the advanced hardware and software to locate and recover deleted files when free tools cannot.
Trust the experts with your essential data. Our certified work is even backed by a No Data, No Recovery Fee guarantee. We restore your data, or you pay nothing.
Call 800-388-1266 to start a case and regain access to important files.