Keeping Windows 11 up to date is crucial for security, performance, and stability. Microsoft regularly releases updates to patch vulnerabilities, enhance features, and improve overall system efficiency. However, updates don’t always install as expected, leading to errors, failed installations, or even system crashes. These failures can stem from issues such as insufficient storage, network issues, software conflicts, or corrupt system files.
The experts at Secure Data Recovery explain why Windows 11 updates fail and offer solutions to protect against data loss.
Key Takeaways:
- Windows updates help maintain optimal performance, system stability, and security standards.
- There are a range of troubleshooting options to fix Windows Update failures on Windows 11, from simple steps to more advanced methods.
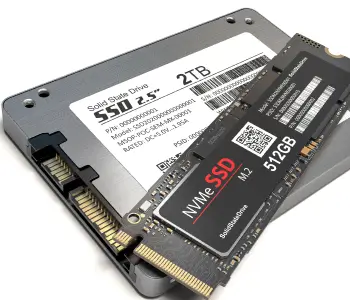
- SSD or hard drive data recovery can help retrieve files if update issues stem from hardware failure or severe corruption.
Understanding Windows 11 Update Failures
Why Are Windows Updates Important?
Windows updates are critical for maintaining system security, stability, and performance. Each update includes security patches to protect against cyber threats, bug fixes to resolve system errors, and feature enhancements to improve user experience. Ignoring updates can leave your system vulnerable to malware, data breaches, and software malfunctions.
However, Windows 11 updates don’t always install smoothly. Many users encounter update failures, preventing them from keeping their system up to date.
Why Does My Windows 11 Update Keep Failing?
There are several reasons why a Windows 11 update might fail, including:
- Insufficient Disk Space
- Internet Connection Issues
- Windows Update Service Issues
- Background Processes and Services
- Corrupted System Files
- Pending Updates
- Outdated or Incompatible Drivers
- Security Software Blocking Updates
Basic Windows 11 Update Troubleshooting Steps
Before diving into advanced fixes, start with these basic troubleshooting steps.
1. Restart Your PC
A quick restart can resolve temporary glitches and background conflicts that might prevent installation updates.
- Click the Start menu.
- Select Power, then Restart.
- Once your PC reboots, try updating Windows again.
2. Check Your Internet Connection
A weak or unstable internet connection can disrupt updates. Make sure your network is stable.
- Restart your Wi-Fi router or switch to a wired connection for better stability.
- Run a speed test to ensure you have sufficient bandwidth.
- If you're using a VPN, disable it and try updating again.
3. Free Up Disk Space
Windows updates require available storage to install properly. If your drive runs low on space, you may need to clean up unnecessary files.
To check your storage:
Open Settings (Win + I).
Go to System, then Storage.
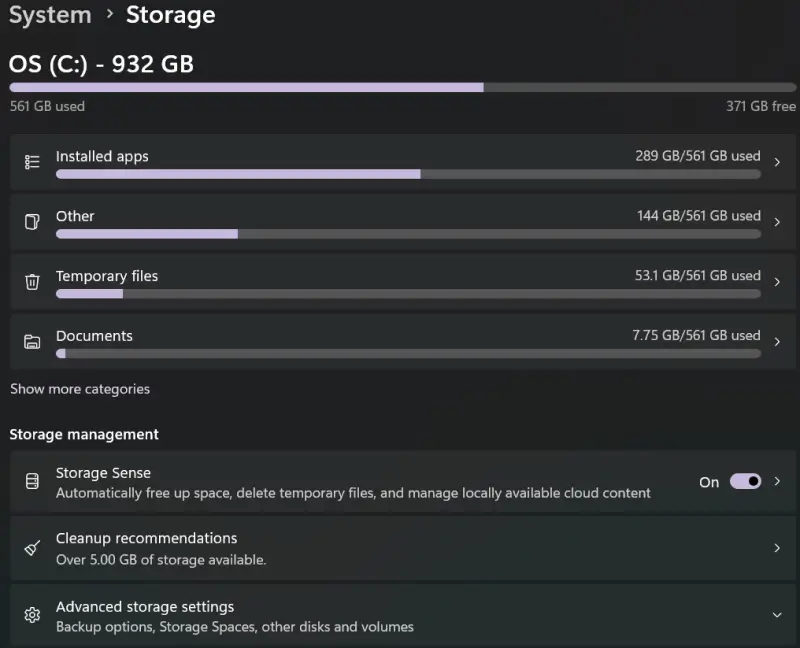
Click Temporary files, then select and delete unnecessary data.
Note: If space is still insufficient, consider moving files to an external drive or uninstalling unused applications.
4. Pause and Retry the Update
If an update is stuck, pausing and resuming can help refresh the process.
- Open Settings, then Windows Update.
- Click Pause updates and wait for a few minutes.
- Click Resume updates and check if the installation proceeds.
5. Disconnect External Devices
External devices like USB drives, hard drives, or docking stations can sometimes interfere with Windows updates.
- Disconnect all external USB devices and unnecessary peripherals.
- Restart your PC and retry the update.
6. Disable Third-Party Antivirus Software
Overprotective antivirus software can block updates from installing. Temporarily disable your security software:
- Open your antivirus application.
- Look for real-time protection or firewall settings.
- Temporarily turn it off, then try updating Windows again.
Note: Remember to re-enable your antivirus after the update to protect your system.
Advanced Windows 11 Update Troubleshooting Steps
Running the Windows Update Troubleshooter
The Windows Update Troubleshooter is a built-in diagnostic tool that can automatically detect and fix common update problems.
To use the Windows Update Troubleshooter:
Open Settings (Win + I).
Navigate to System > Troubleshoot > Other troubleshooters.

Under Windows Update, click Run.
Allow the troubleshooter to scan your system.
Follow any recommended fixes, then restart your PC.
Manually Installing the Update
If Windows Update fails to install automatically, you can manually download and install it from Microsoft’s Update Catalog.
Here’s how to manually install Windows 11 updates:
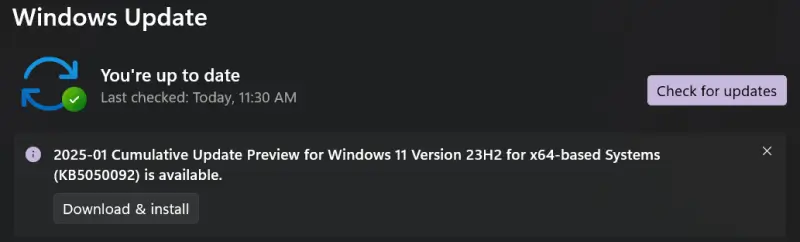
- Open Settings > Windows Update and note the KB number of the failed update.
- Go to the Microsoft Update Catalog.
- Enter the KB number in the search bar.
- Download the update matching your system version (x64 for most users).
- Run the downloaded file and follow the installation prompts.
- Restart your computer and check if the update is applied.
Fixing Corrupted System Files (SFC & DISM Scans)
System file corruption can prevent Windows from updating properly. Running System File Checker (SFC) and Deployment Image Servicing and Management (DISM) scans can repair these files. These actions can sometimes result in data loss, so assess the risk before running these tools without a backup.
Here is how to run an SFC Scan:
- Open Command Prompt as an administrator (Win + S, type cmd, select Run as administrator).
- Type the following command and press Enter: sfc /scannow
- Wait for the scan to complete. If errors are found, Windows will attempt to fix them.
If SFC doesn’t resolve the issue, use DISM to repair Windows images.
To run a DISM Scan:
- In Command Prompt (Admin), type and run these commands one by one:
- DISM /Online /Cleanup-Image /CheckHealth
- DISM /Online /Cleanup-Image /ScanHealth
- DISM /Online /Cleanup-Image /RestoreHealth
- Wait for the process to complete, then restart your PC and check for updates again.
Resetting Windows Update Components
Windows Update services and update cache files become corrupted. Manually resetting these components can resolve persistent update failures.
To reset Windows Update components:
1. Open Command Prompt as Administrator and enter these commands:
- net stop wuauserv
- net stop cryptSvc
- net stop bits
- net stop msiserver
2. Delete update cache files:
- ren C:\Windows\SoftwareDistribution SoftwareDistribution.old
- ren C:\Windows\System32\catroot2 Catroot2.old
3. Restart the services:
- net start wuauserv
- net start cryptSvc
- net start bits
- net start msiserver
4. Restart your PC and try updating it again.
Checking for Driver and Software Conflicts
Updating drivers or uninstalling problematic software can fix the issue.
To update drivers:
Open Device Manager (Win + X, select Device Manager).
Expand the categories and look for devices with yellow warning signs.
Right-click the device and select Update driver.
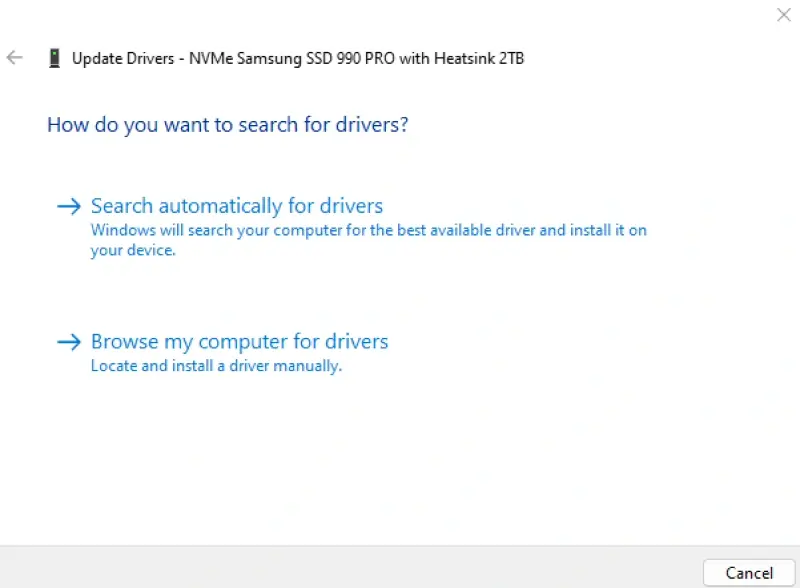
Choose Search automatically for updated driver software.
Restart your PC after updating.
Certain applications, especially antivirus programs or system optimizers, can interfere with Windows updates.
To uninstall problematic software:
- Open Settings, go to Apps, then select Installed apps.
- Look for recently installed software.
- Select Uninstall and restart your PC.
Performing a Clean Boot
A clean boot starts Windows with only essential drivers and services, preventing third-party applications from interfering with updates.
To perform a clean boot:
Press Win + R, type msconfig, and press Enter.
In the System Configuration window, go to the Services tab.
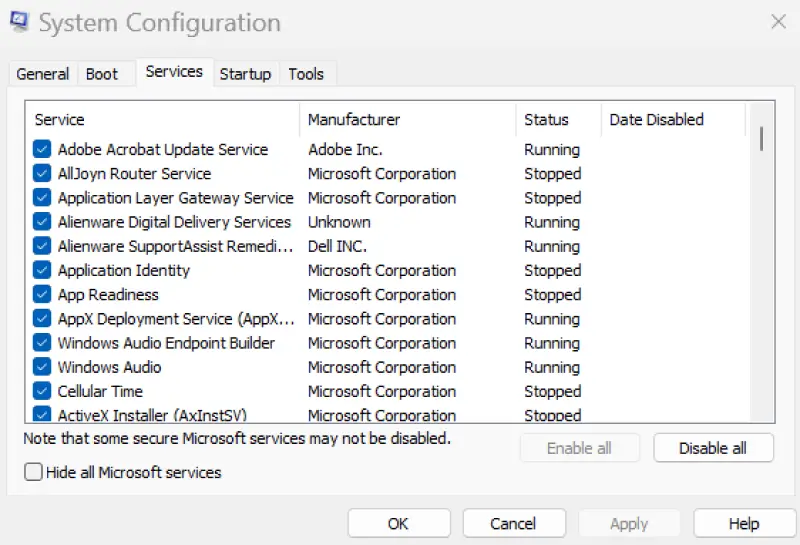
Check Hide all Microsoft services, then click Disable all.
Go to the Startup tab and click Open Task Manager.
Disable all startup programs.
Restart your PC and try updating again.
Seeking Professional Help If Windows 11 Update Failed
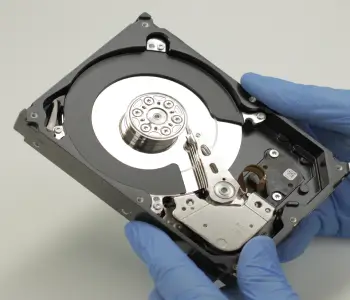
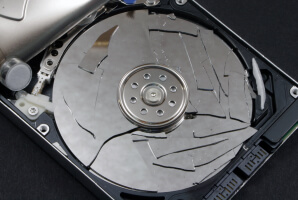
If you've tried all troubleshooting steps and your Windows 11 update still fails, the issue may stem from deeper hardware malfunctions, disk corruption, or data loss. Persistent errors could indicate a failing hard drive, SSD issues, or critical system damage that prevents installation of updates.
We specialize in advanced diagnostics and professional data recovery services. Whether your system has suffered from corruption, failed updates, or unexpected crashes, our experts can help recover lost data. If your important files are at risk due to update failures, don’t wait.
Contact us today at 800-388-1266, request help, or find a location to speak with a specialist and initiate the data recovery process.

Zane Kennedy

Zane brings a wealth of knowledge and insight to his role as a content writer at SecureData. With a focus on the latest news, strategies, and innovations in file repair technology and secure data storage, Zane aims to provide articles that are a definitive source for anyone looking to stay informed in this rapidly evolving field. Whether exploring the latest advancements in data recovery techniques or offering insights into effective data management strategies, his writing is an essential resource for professionals and enthusiasts alike.